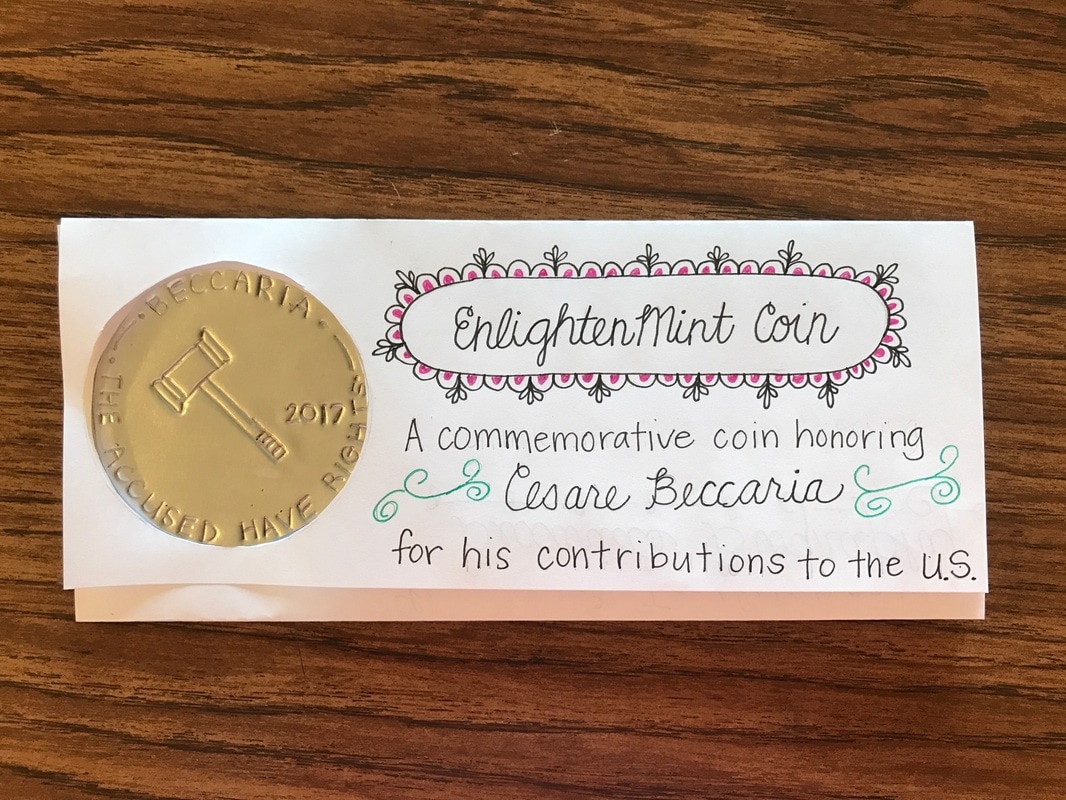
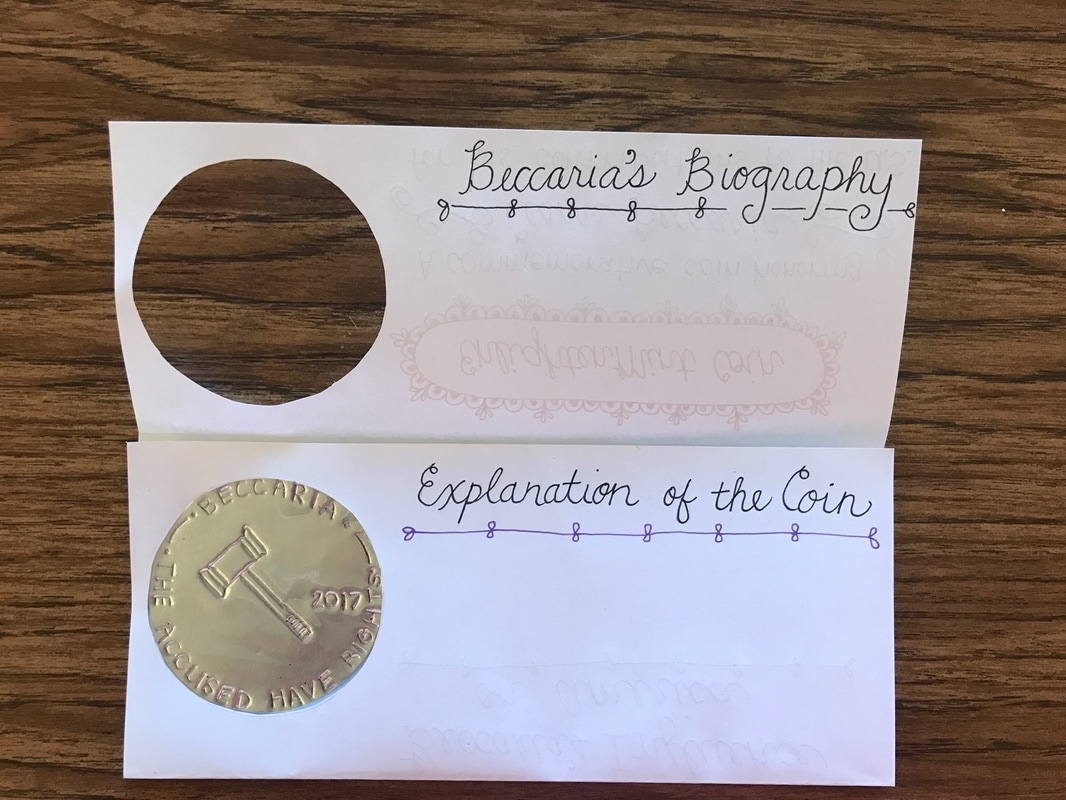
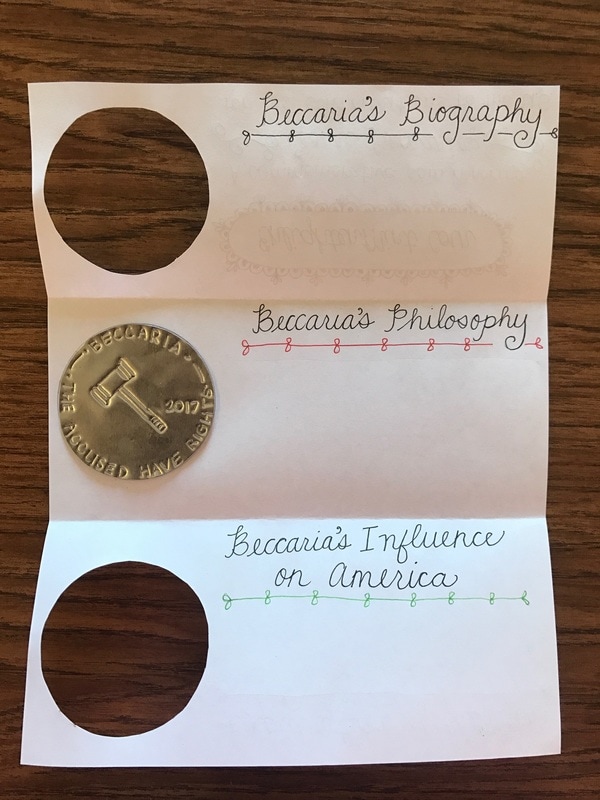
Materials:
|
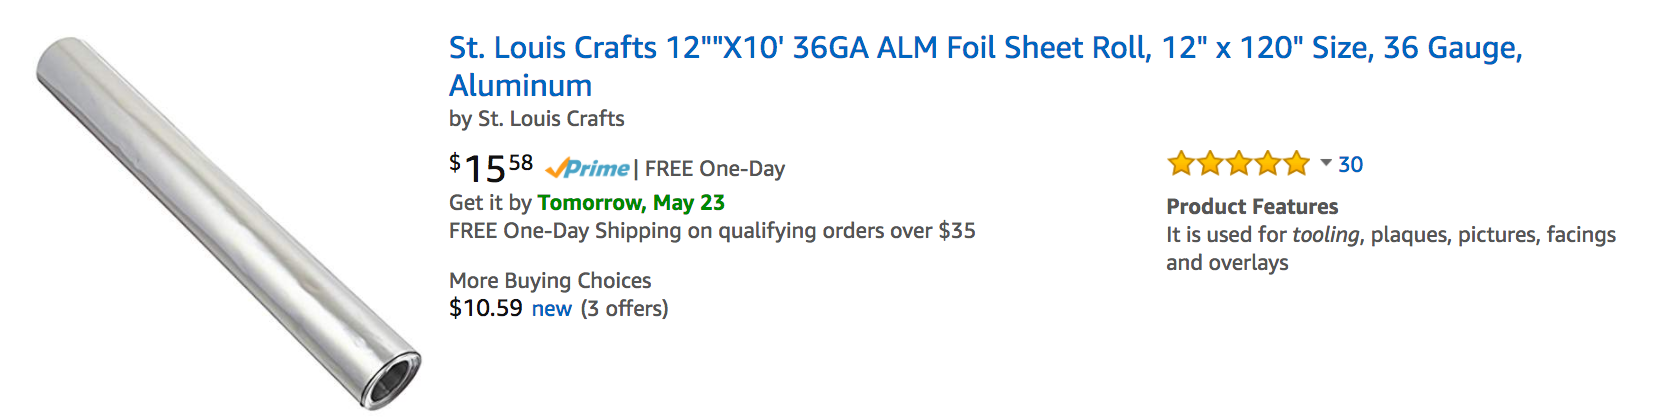
One roll was enough heavy gauge foil for 152 students.
|
|
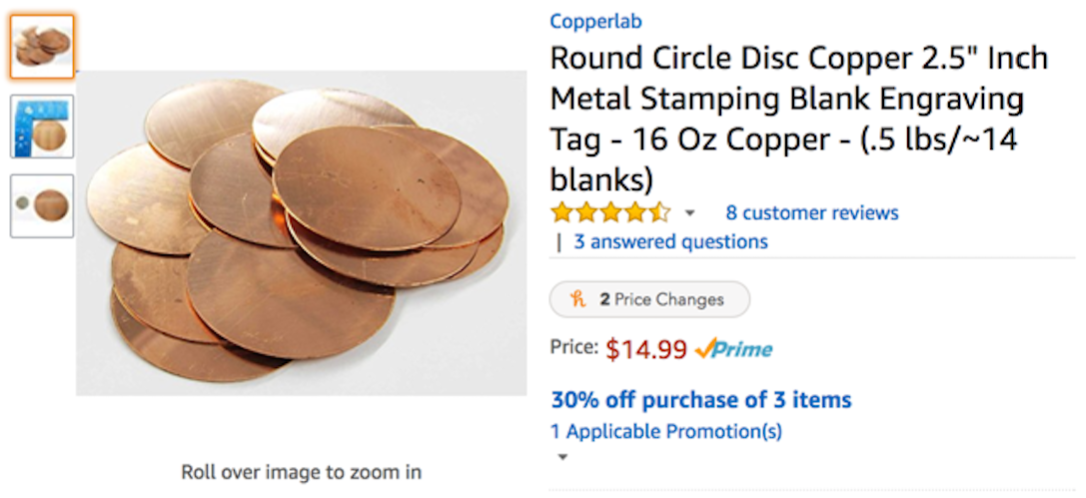
I needed a 2.5 inch circle. I bought these thinking I would need enough for the class to share. Ultimately, I only needed one circle. If you have a 2.5 inch circle to trace, then you won't need this. This was, however perfect.
|
Step by Step Instructions:
Before Students Come to Class
|
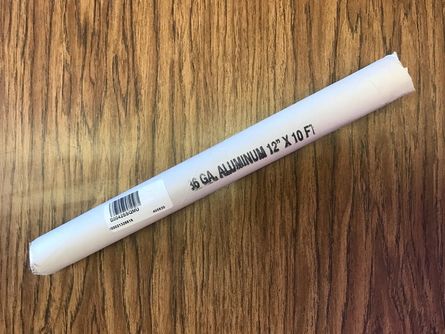
This is what the roll looks like when it comes.
|
|
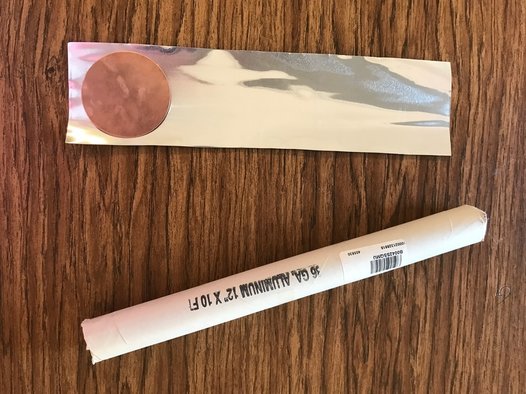
Cut it into strips making sure that it's thick enough for the 2.5 inch circle template to be traced. I left about 1/2 inch on each side so that means the strips were about 3 inches thick.
|
|
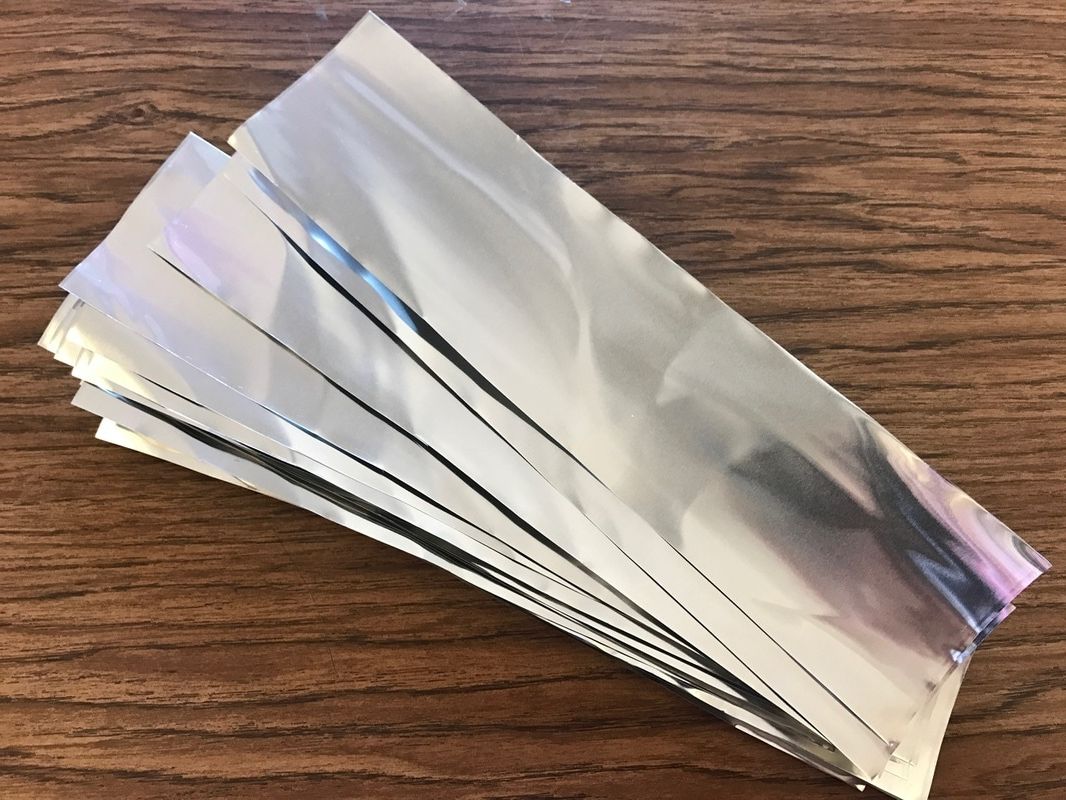
Now you are left with a stack of 3 inch strips.
|
In Class
You could do these steps before kids come to class. I just did these steps while kids designed their coins and finished the questions at the bottom of the design page.
|
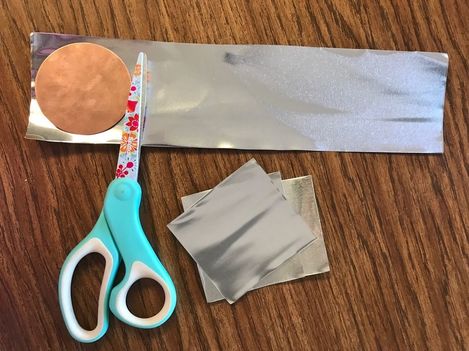
I used the copper template to measure out how much I should cut the strips. The squares ended up about 3"x3". The copper template made it easier to eyeball the measurement. I quickly cut them.
|
|
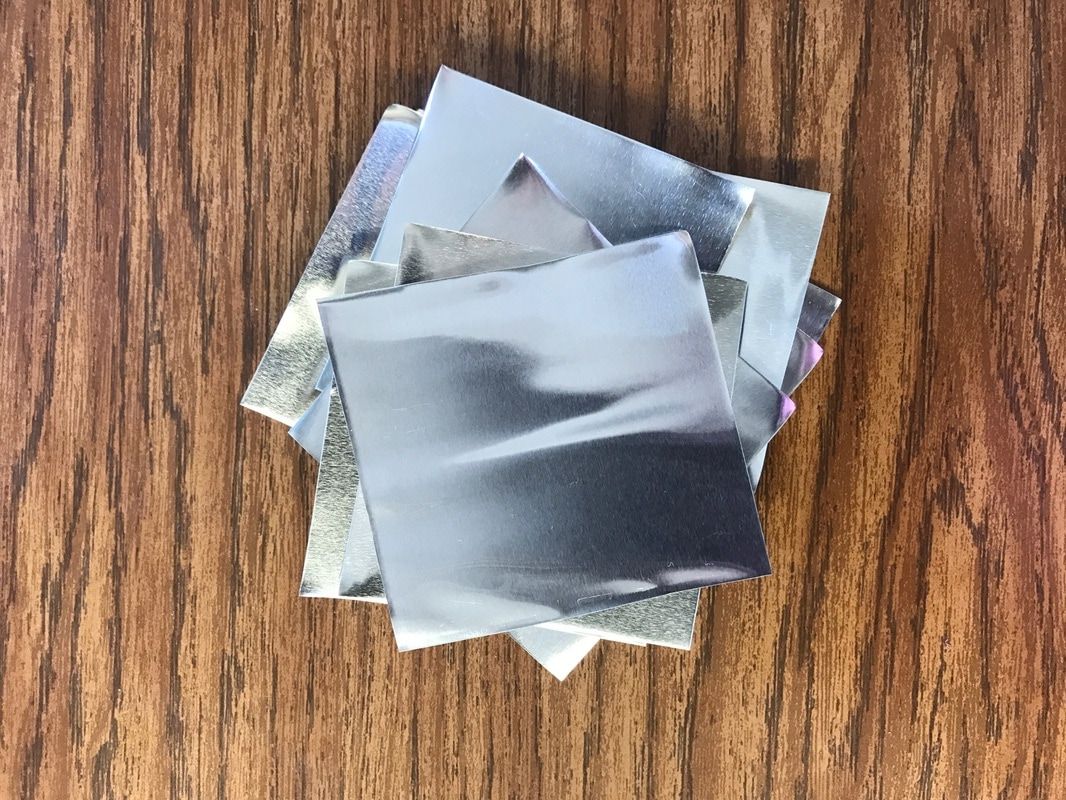
I had a pile of 3x3 squares.
|
|
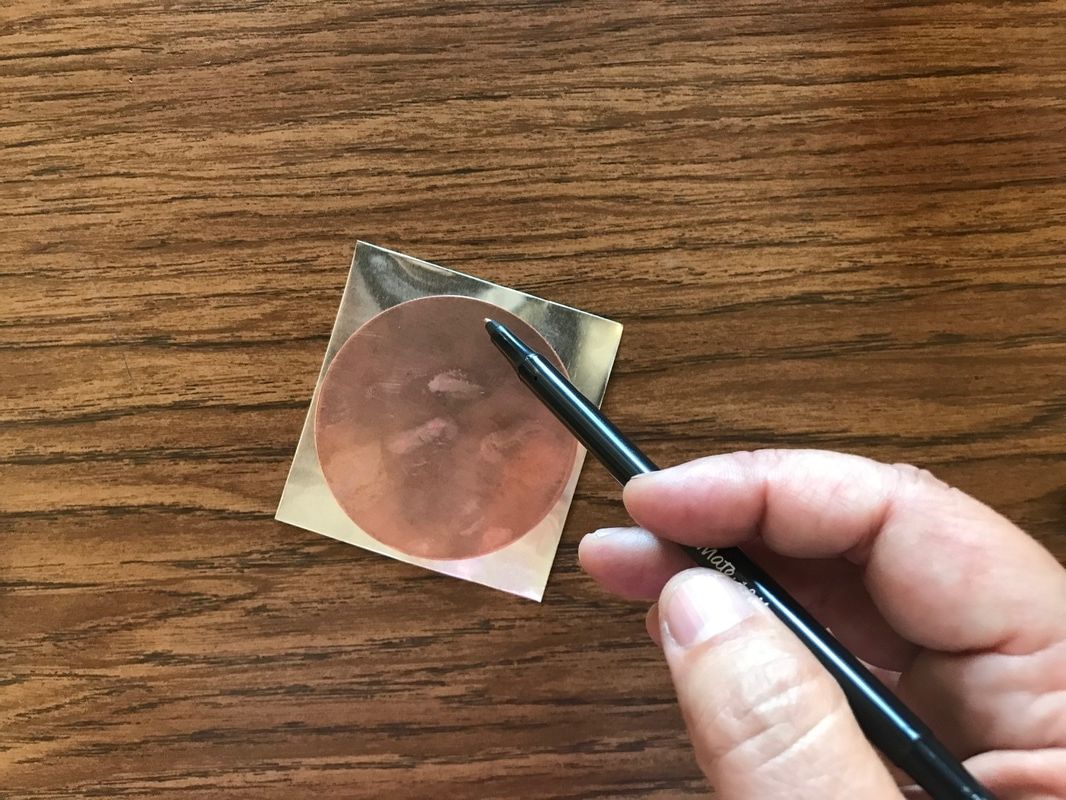
I quickly traced the coin as the kids came up to me to show that they were done with the coin template and brochure planning page..
|
|
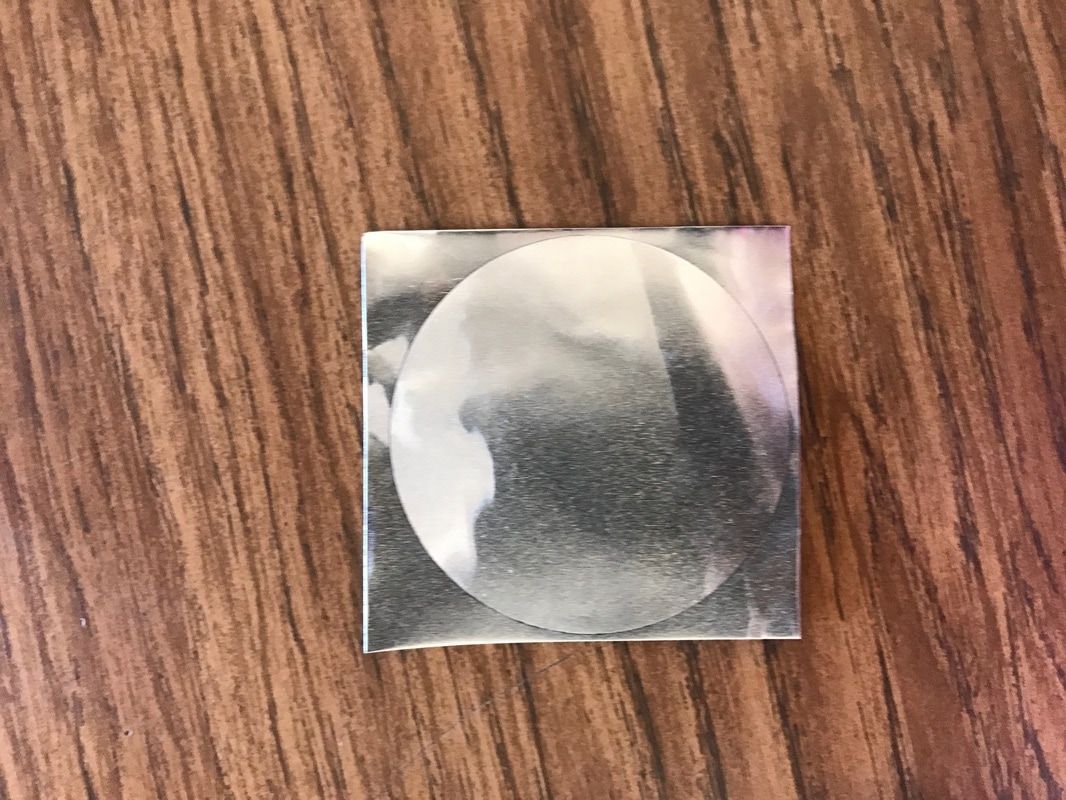
I handed this to the students. They cut it out and used the circle to trace circles on their brochure.
|